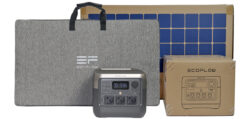
Installation …
After the setup and all the details, we already come to the power station installation. First of all, it is best to install the EcoFlow app. The battery of the Powerstation is usually precharged with just over 30%. You should not discharge the battery much below 30% if possible. But before you connect the battery to the power outlet or solar panel for the first charge, you should, in our opinion, install the app and configure the power station correctly!
With the app, you specify with what, how far and how to charge. That’s why it’s best to start by using our EcoFlow App guide to download and install the nearly 80MB EcoFlow App.
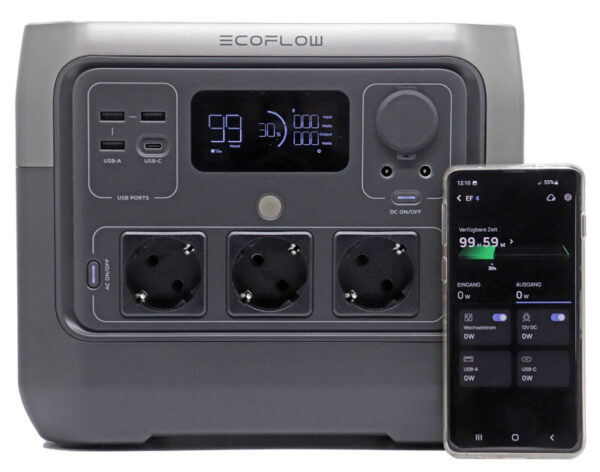
After that add the powerstation in the app and then start with all the EcoFlow app settings. Because as long as you don’t connect any device to the powerstation, the pre-charged battery capacity is enough to do all the basic settings.
In the step-by-step EcoFlow app guide, we give you some tips that you should first read through in full. As much as you’re looking forward to finally getting started, there are a few little things you should pay attention to and set correctly right at the beginning – for example, the maximum charge level, the minimum discharge level, the charging speed, DC mode, X-Boost mode, but also the timeout, so that the power station can’t discharge too deeply.
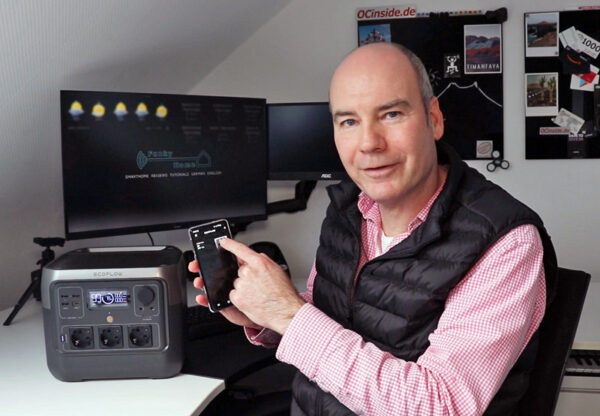
Connect and assemble solar panel …
Those who ordered one or the solar panel can now assemble it. The assembly is actually quite simple, but somehow still a bit funny 😀
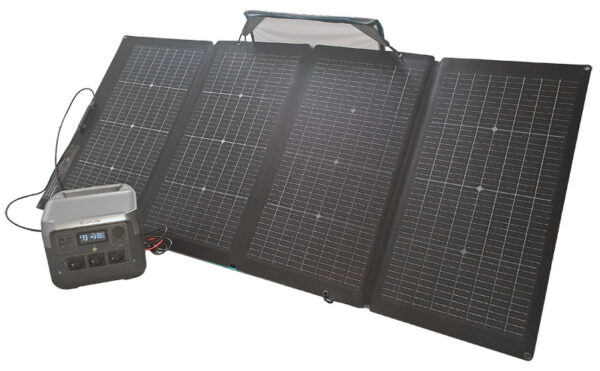
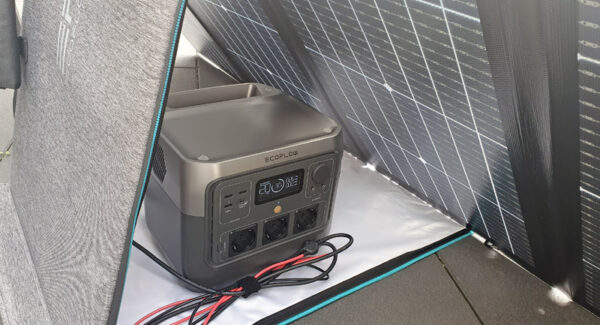
Because the mobile solar panel has quite a span of about 183.5cm x 82cm and you have to tame it first, especially since you can not bend the glass panel, of course, but only folded at the intended places. After that, the solar panel bag is used as a support wall by setting it up as a PV mount with the four carabiners provided. The power station can be placed on the lower support wall for weighting, which also directly protects the power station well.
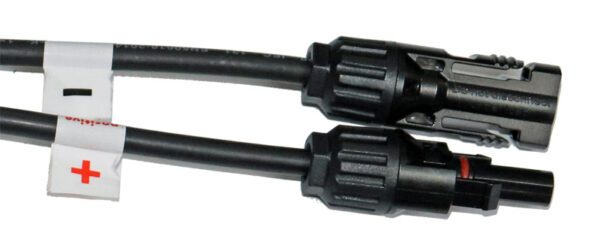
Here you can see the two MC-4 plugs that are permanently connected to the foldable solar panel. The MC4 plugs and sockets are reverse polarity protected (and color coded) and are simply plugged in until you hear a click. Fortunately, no MC4 wrench tool is required to disconnect them.
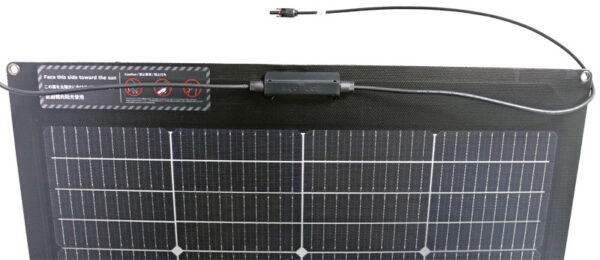
The side with the protruding terminal block should face the sun. With a bifacial solar panel, the back side can also be used and the back side still achieves about 80% of the power. So you can still capture some ambient light via the back side, which would be lost with a single-sided solar panel.
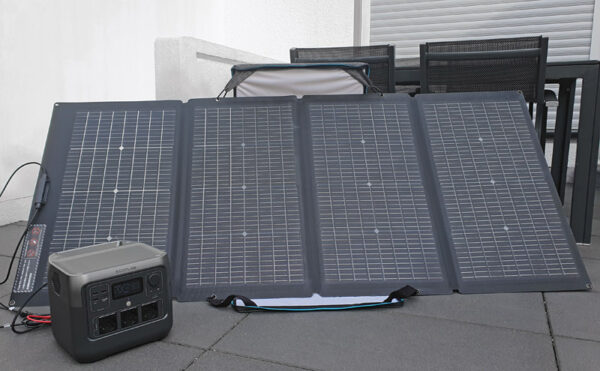
Then the EcoFlow solar panel plug is plugged into the orangeColourne socket of the power station. This is also protected against polarity reversal due to the notches in the plug. Here you can see again the DC connection cable with MC-4 connector, which is supplied with the solar panel.

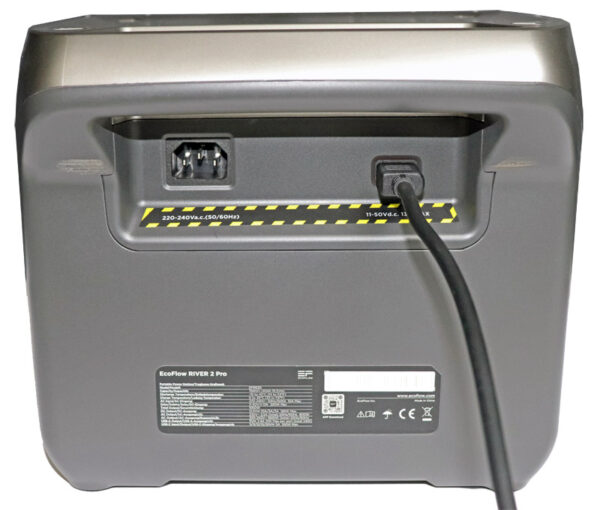
By the way, an expansion with additional panels is not intended with the EcoFlow River 2 Pro Powerstation, because the maximum input power at the rear DC connector is 11-50V at 13A and thus theoretically 650W, however, according to the data sheet, the maximum input power is only 220W in total. So under no circumstances simply connect a larger panel of another company with an adapter cable or connect several photovoltaic modules in series with the DC string lines, because this is not provided by the manufacturer for the EcoFlow River 2 and River compared to the EcoFlow Delta, Delta Max/Pro/Mini and could have fatal consequences for the integrated charge controller! Therefore, only connect this 220W or an identical solar panel to the EcoFlow River 2 power station.
Caution: If you are thinking about connecting, for example, a balcony power plant with its own micro inverter to one of the front sockets, you should immediately discard this idea! Because the 230V AC output must not be used as AC input under any circumstances! The construct with a balcony power plant at the power station could only work as long as the power consumption of the connected devices continuously exceeds the yield of the solar panels or the inverter and thus no current is supplied via the front AC output. As soon as this power consumption is even briefly below, one would feed current into the output and thus inevitably destroy the power station! So do not do it at all!
Speaking of connecting and charging … to charge the Powerstation, you can either connect the IEC cable or the 2-pin DC cable of the solar panel on the back of the case as shown here.
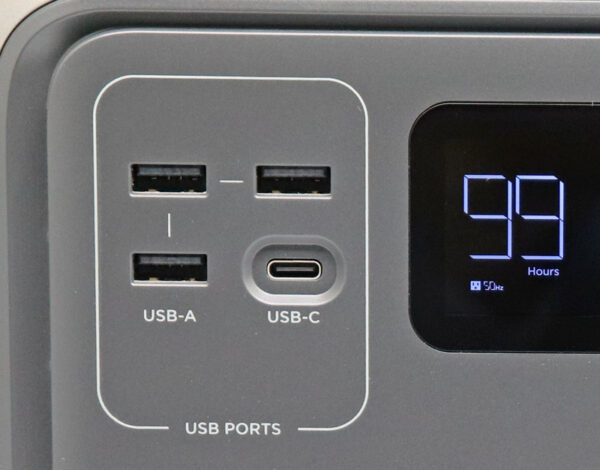
Another special feature is the front USB-C port, which could also be used to charge the power station’s battery (max. 100W).
Continuing with the EcoFlow River 2 Pro Powerstation Practical testing …
