Practical testing …
As we already mentioned in the Homematic CCU2 review, many Homematic products can be used as standalone devices. This means that it would not be necessary to purchase a Homematic control unit, but it does make the setup and management of the Smarthome devices much easier. Some Homematic devices can even be connected to each other without a control unit, but the Window Rotary Handle Sensor is interrogated by a program via the control unit.

Homematic Window Rotary Handle Sensor initial setup …
The initial setup of the Homematic Window Rotary Handle Sensor is very simple. All you need is the Config button under the battery cover, which is used to teach the sensor to the control unit. The sensor is then interrogated by radio via the control unit or via an app.
Teaching the Window Rotary Handle Sensor to the Homematic CCU2 …
Learning the Window Rotary Handle Sensors to the CCU2 control unit is quite unproblematic. We have explained exactly how this works in this small Homematic Window Rotary Handle Sensor Teaching Tutorial.
Window Rotary Handle Sensor program creating …
How to create programs for the sensor, we have explained in this small Homematic Window Rotary Handle Sensor Program Tutorial.
In the programs we can then query the Window Rotary Handle Sensor and only lower the shutters when the Window Rotary Handle Sensor is set to Open. The advantage over querying a normal optical or magnetic window contact sensor is that you are not locked out even when the door is closed, i.e. even when the door is closed (or tilted) the shutter actuator operation is blocked or prevented in the programs. So you can also sit in the garden in the evening without having to fear that the corresponding shutter will be lowered and you will be locked out!
Theoretically, it would also be conceivable to query the rotary knob on the toilet door, which would then light up a WC busy signal – just a small suggestion for further handicraft projects 😉
As you can see, the Window Rotary Handle Sensor query via the Homematic program is very simple and you can even query the status via app.
Request the Window Rotary Handle Sensor via an app …
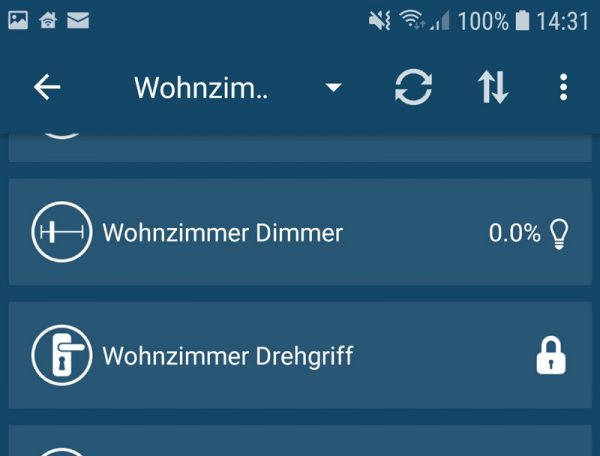
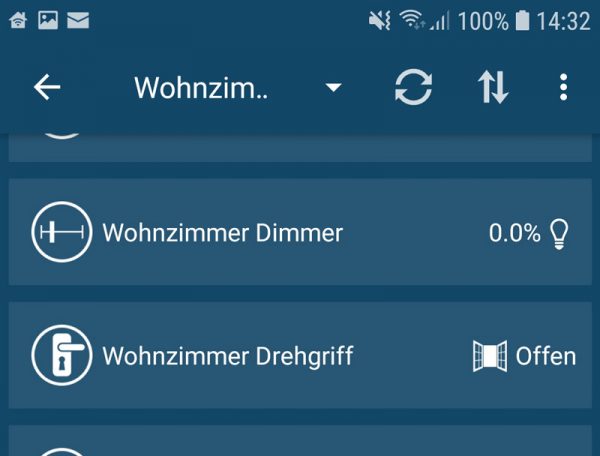
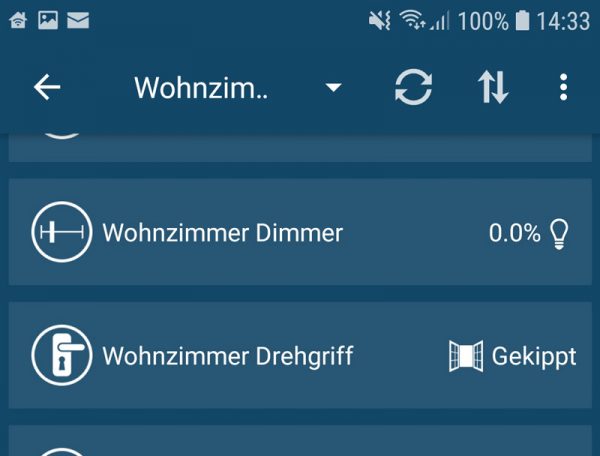
Another possibility is (as already described in the Homematic CCU2 Test) to operate the Homematic devices via third-party programs or apps. The Tinymatic App is initially free of charge in the Google Play Store and must then be unlocked after a few accesses with a Tinymatic Unlocker for a few cents. You can then also use it to query the Homematic wireless window/door/window rotary handle sensor.
This way you know from the road that you have really closed the door handle or window handle.

Door handle open? Then it is better not to lower the roller shutters on the patio door!

Door or window tilted? Good to know!

How to secure your network despite XML-API and how to set up secure remote access via VPN will be shown in one of the upcoming tutorials on Funky Home.
In many more Homematic Tutorials we will gradually provide tips and tricks for intelligent shutter control in your own house or flat and show even more application examples of the Homematic Window Rotary Handle Sensor. Let us now come to the conclusion of the Homematic Window Rotary Handle Sensor.
Homematic Window Rotary Handle Sensor Result and general impression …
