Installation …
Of course, you should clarify in advance whether the domestic boiler can be controlled with it.
Many basic questions are already answered on the Netatmo homepage.
The installation is very well described and according to various forum entries, the support on the part of Netatmo seems to be quite good.
ATTENTION: Here is worked with mains voltage! ALWAYS turn off the fuse BEFORE you work on it! Only a professional should work on the electrical system.
But now we finally come to the Netatmo Smart Thermostat installation.
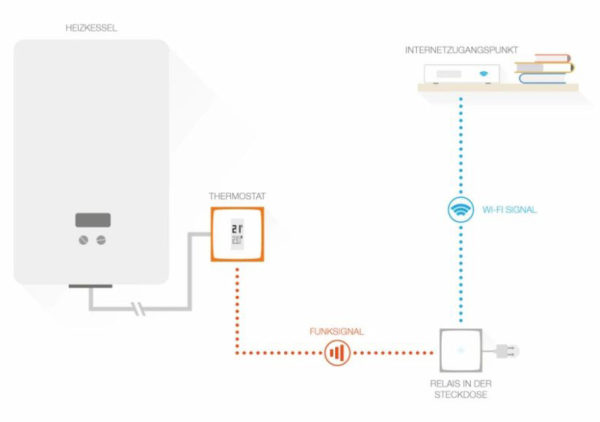
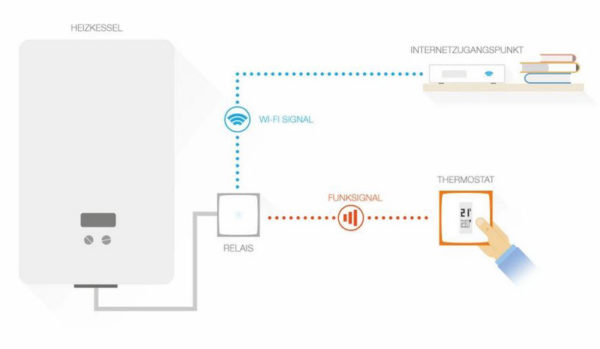
There are basically two ways of installation, because both the thermostat and the connection module contain a switch actuator with relay.
Netatmo thermostat installation variant 1 …
The thermostat is connected directly to the boiler and fixed.
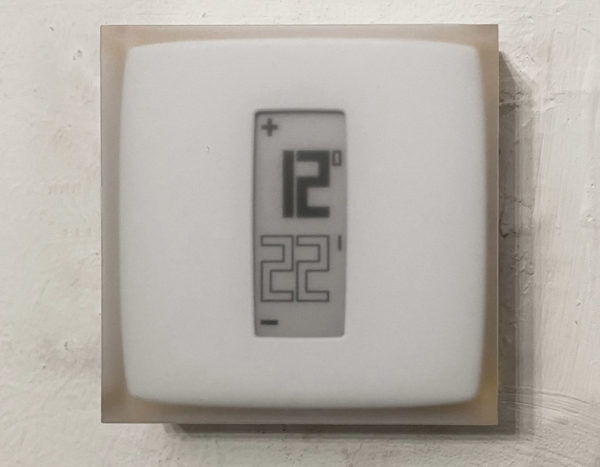
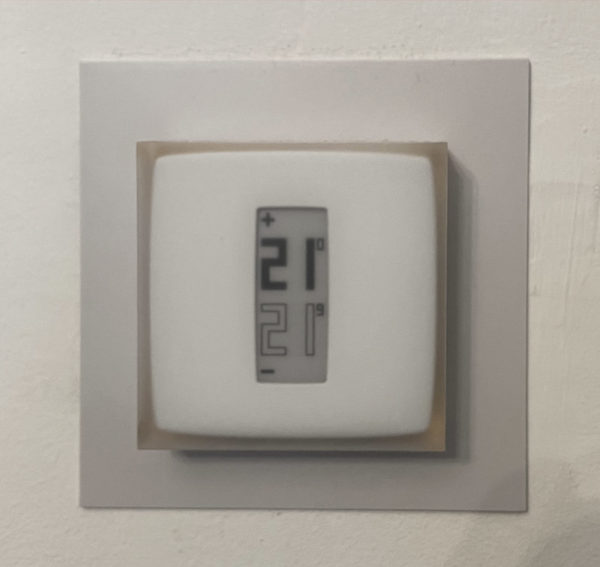
Alternatively, it can be mounted on the wall with the supplied frame.
The relay is plugged into a wall socket and is used only for communication with the thermostat and the WLAN.
Netatmo thermostat installation variant 2 …
The relay is connected to power and the boiler. The thermostat gives commands to the relay by radio.
Advantage: The thermostat can be placed anywhere in this variant and does not need to be mounted permanently.
Continue with the Netatmo Smart Thermostat Practical testing …

