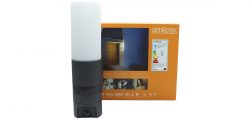
Layout, design and features …
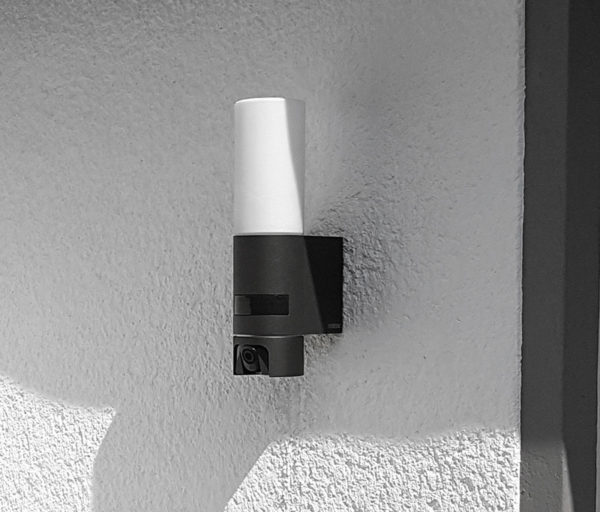
The Steinel CAM light L 600 makes a very well processed impression and looks visually very noble. On the front, you can see the opal glass with the permanently installed LED at the top, the motion detector area underneath and the 110-degree wide-angle camera at the bottom, which you can tilt in the range of approx. 20-30 degrees and rotate approx. 30 degrees to each side. The manual incorrectly states 180° horizontal orientation, but this is not correct!

In the side view you can see again very nicely how far the lamp protrudes approximately from the wall. Overall, the Steinel lamp has a depth of about 13cm, whereby the lamp has about 5.3cm distance to the wall.
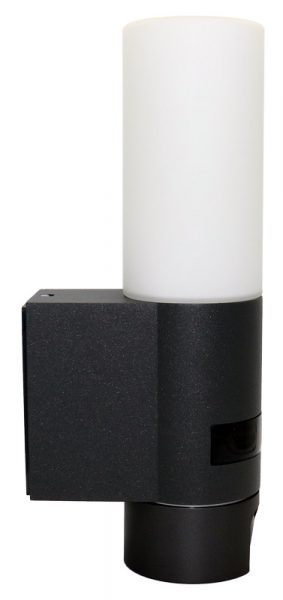
Pleasant is also the very discreet Steinel logo.
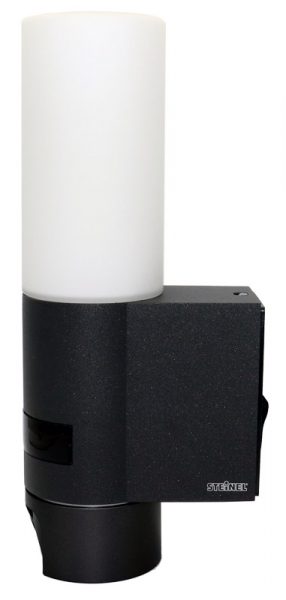
This is what the underside of the Steinel camera looks like. There is a small speaker for sound output. So you can not only record a sound via the small microphone under the camera lens, but also output speech or a signal tone to the camera.
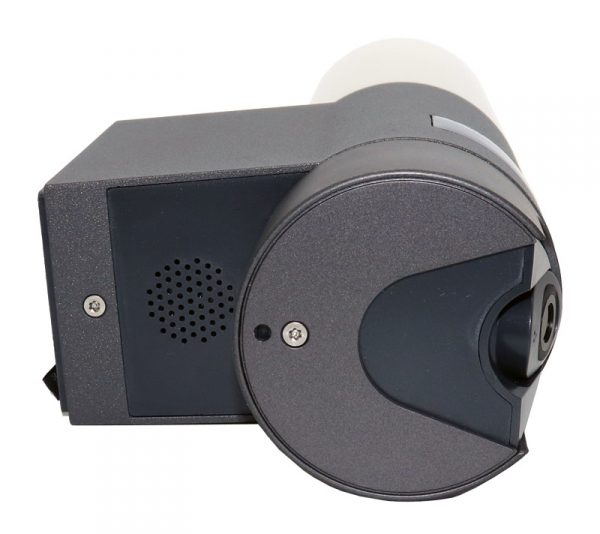
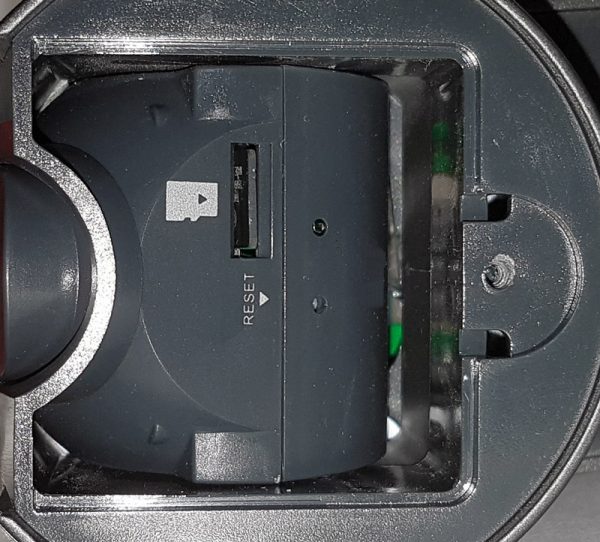
As soon as you unscrew the star screw with the included star wrench, you get to the reset button, the activity LED and the MicroSD card. However, the microSD card cannot only be pushed in with long fingernails or a tool to remove it. The direction of the MicroSD card is given by the picture. However, you have to be careful not to accidentally put it next to the MicroSD card slot when inserting it. The MicroSD card is encrypted and cannot be read externally. Resetting the camera does not delete the contents of the card, but only the WLAN data and the corresponding configuration. By the way, there is no RJ45 LAN port.
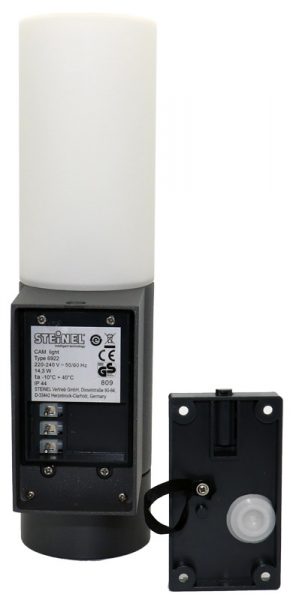
This is what the back of the Steinel CAM light L 600 looks like.

Steinel has cleverly solved the mounting plate, which is fixed at the top with a clamp and at the bottom with a star screw. The plate is held firmly in place with the small loop.
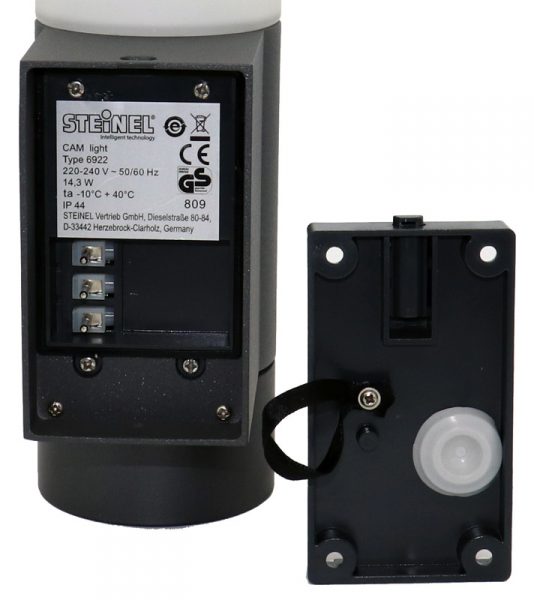
The mounting plate with the sealing cable gland can be easily mounted on the house wall and connected, and then the lamp receives the supply voltage via the special plug on the luster terminal when plugged in. So no annoying struggle with the cable when mounting. Great job!
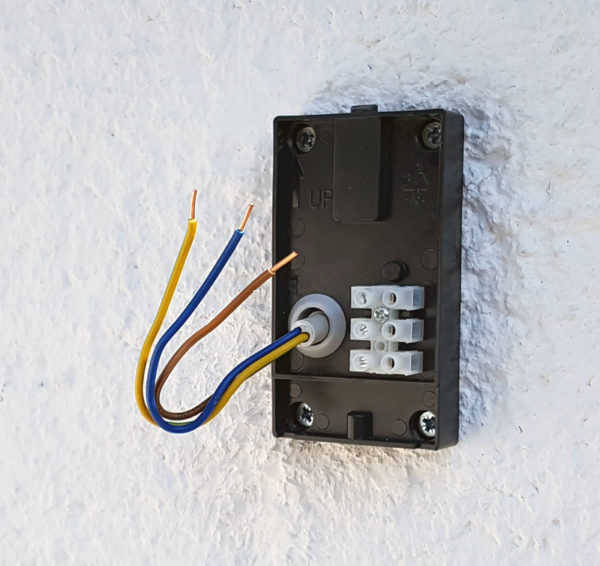
So the installation on the wall is very simple, because you first attach the mounting plate to the wall …
… and then simply attaches and fixes the lamp.
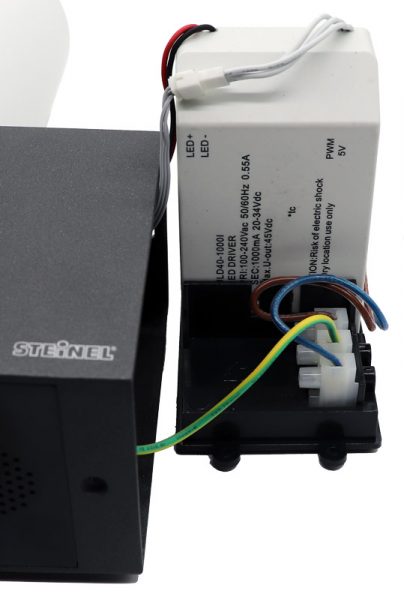
Of course, we also wanted to take a look behind the scenes and loosened the sealing ring together with the four outer screws, which gives us access to the ULD40-1000l 5V PWM LED driver. However, this is as far as you can go when disassembling the Steinel CAM light. You can reach two screws on the underside in the moving camera part at the MicroSD card, but you would have to loosen a third screw in the front area. You would have to remove the ring, but you might destroy something when opening the camera. So it is better not to open the Steinel CAM light.
Overall, the Steinel CAM light L 600 is therefore very neatly finished!
The Steinel installation is also relatively easy, at least if you follow all the instructions. We first tested the Light Cam on a Samsung Galaxy S7 smartphone with Android 8.0.0 and Samsung Galaxy S10 smartphone with Android 10 and later on an Apple iPad Air 2 with iOS. What exactly has to be considered and how to install the Steinel CAM light, we show in the separate Steinel CAM light installation guide.
Steinel CAM light L 600 Practical testing …
