- Berner GA101 Accumulator Garage Door Drive Installation Guide
- Step by step installation guide
- Door lock disassembly instruction
- Driving angle assembly instruction
- Guide rail construction manual
- Guide rail assembly instruction
- Emergency release assembly instructions
- Door end positions assembly instructions
- Engine assembly instructions
- Initial startup instructions
Initial startup instructions …
Because we now also show how to put the Berner door operator into operation for the first time and how to train a hand-held garage door transmitter!
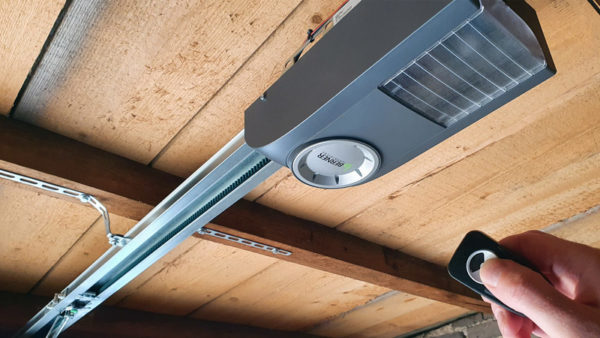
Now attach the warning sticker.
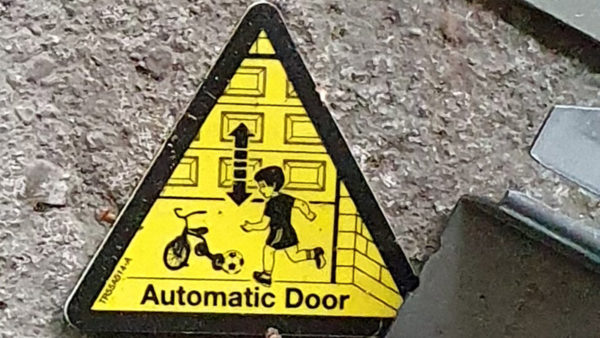
And of course, the accumulator should also be charged. It should have been fully charged for about 12 hours on the charger beforehand. Or if you want to operate the Berner gate opener at a socket, you can of course also use this power source. Only in the second part, we will then discuss the solar panel and all the additional components that we have installed too.
Final stop programming instructions …
Let’s take a look at plugging the 3-pin connector into the battery. First provisionally, because the final installation will be in the second video.
Now we just have to press the button T, then the garage door should already go up and hopefully stop at the end stop 😀
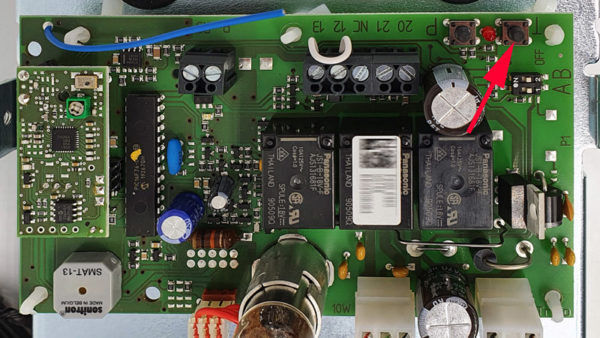
Now press the T key again to close the garage door. The respective end position has now been programmed into the garage door drive.

Remote control programming instructions …
Now we need to program a handheld transmitter and we do that by pressing the P button. This is the second button next to the T button.
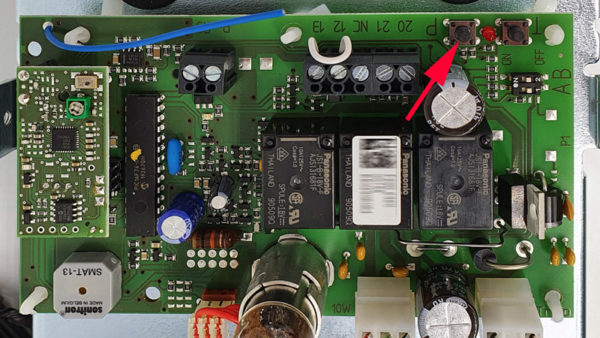
Now the LED flashes. Then press the desired button on the garage door remote control once to learn and if everything works, the garage door should close with another press of the button on the remote control.

Tip: You can learn only one transmitter signal with this control unit and thus also only one hand-held transmitter. How to additional garage door transmitter learn, we show in the next tutorial.
DIP switch setting instructions …
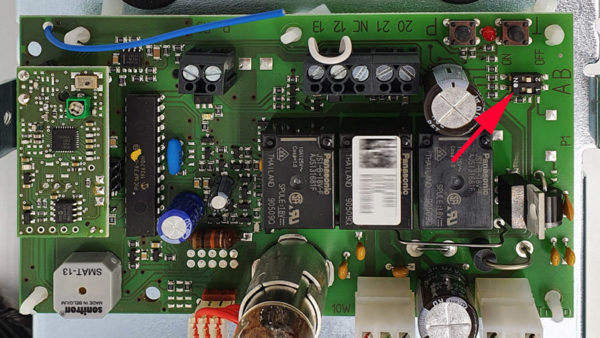
By the way, in our Berner garage door installation video we had set the two DIP switches of the control unit still on the short soft stop. For the overhead door, you should select the long soft stop by setting DIL B to ON. DIL A can be left OFF to activate the external lighting.
That’s it for the first part of the electric garage door opener installation!
In the next part we will show you how to install the optional garage door opener solar panel, how to install the cables, how to teach several garage door transmitters, how and which garage LED lighting can be installed and how to integrate the electric garage door opener into the Smarthome.
Discuss in our forum and share experiences about the Berner Garage door opener guide …
Here you can buy the Berner GA101 Accumulator Garage door opener. *Ad
