- Berner GA101 Accumulator Garage Door Drive Installation Guide
- Step by step installation guide
- Door lock disassembly instruction
- Driving angle assembly instruction
- Guide rail construction manual
- Guide rail assembly instruction
- Emergency release assembly instructions
- Door end positions assembly instructions
- Engine assembly instructions
- Initial startup instructions
Driver bracket installation instructions …
And then we can start to get all the mounting hardware for the garage door drive.
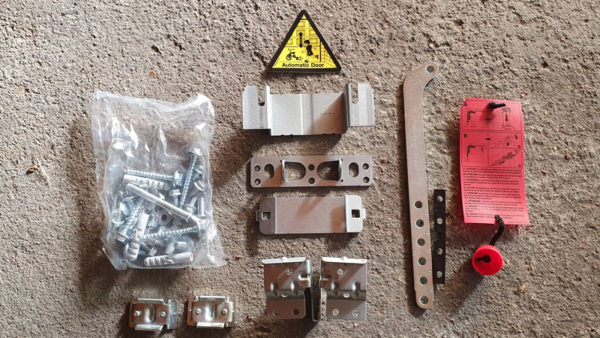
Of these, we first need the driver angle, on which behind the garage door is pulled up.
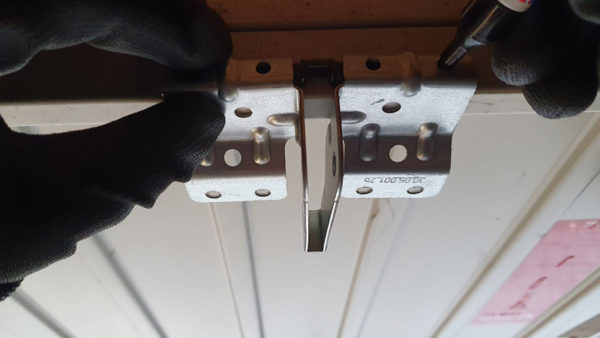
In the instructions it is mentioned that the driving angle should be mounted slightly off-center. It is stated that it should be mounted no more than 50 cm off-center. However, the instructions do not explain why this is the case, but you can see it very clearly here.
You can see very well in the assembled parts that the handle could touch the guide rail and thus prevent the garage door from being raised! In this respect, necessarily look before, how far the handle reaches and then accordingly to a maximum of 50 cm off-center mount the first parts.
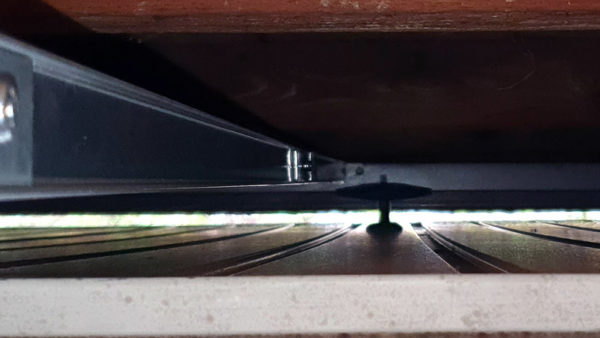
The garage door could now either be locked or in our case we simply pulled the garage door up. If you are tall enough, we could then wonderfully still work on it. So simply mark the driver angle and then drill the first two holes accordingly, as they are also indicated in the instructions.
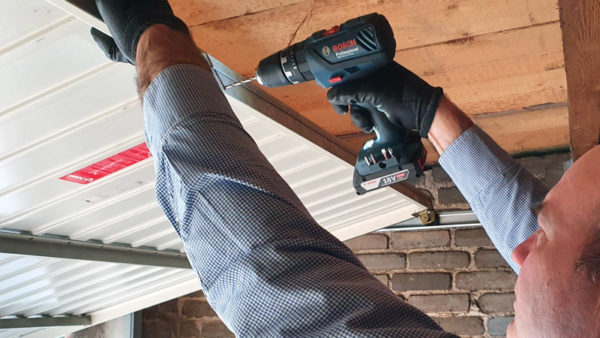
As you can see here once again very nicely on the picture, the angle is thus attached to the top of the up-and-over door and initially with two screws.
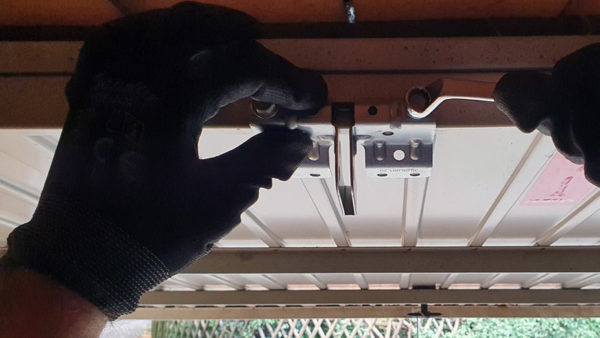
Here, the driving angle is already screwed tight with the two upper screws.
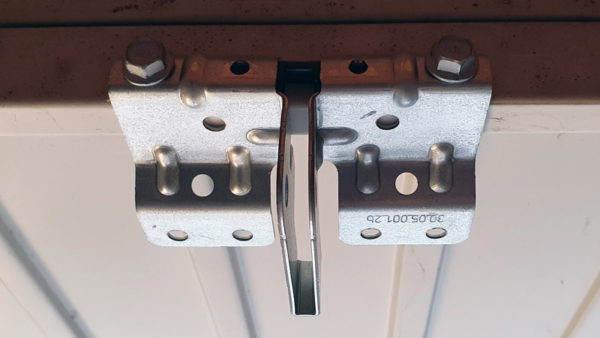
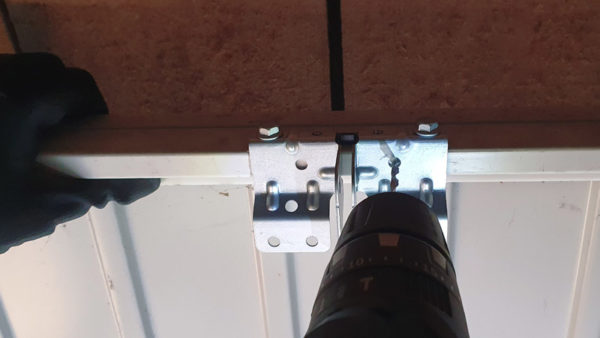
Now drill the other two holes in the garage door and put the two screws there as well.
Here you can see the screws screwed in by hand for the time being.
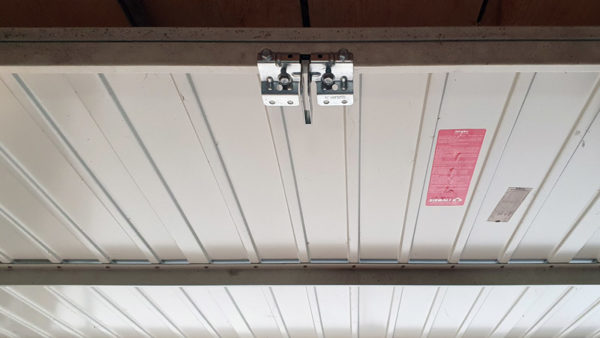
And then, of course, the whole thing is tightened again properly …
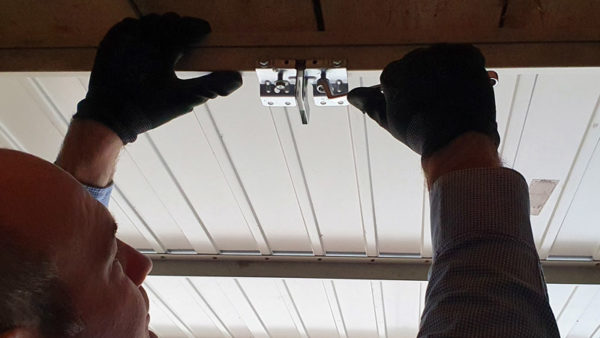
… and already the mounted with me times angle.
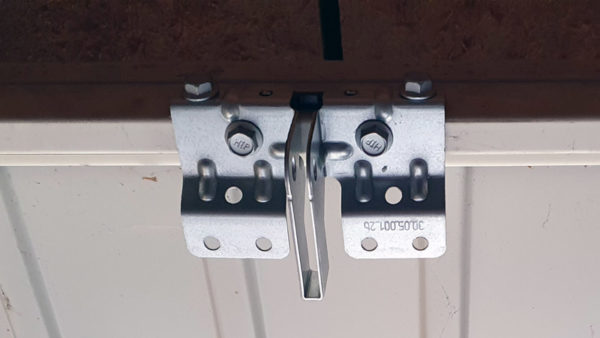
We now move on to the lintel joint.
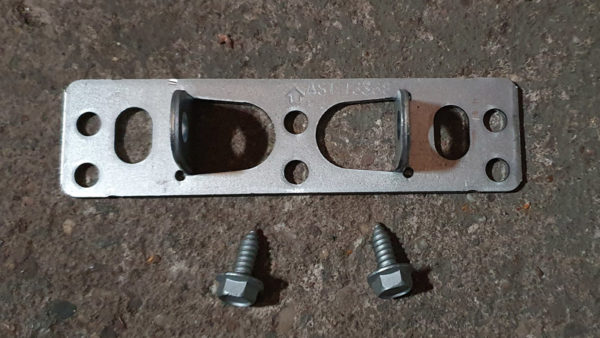
This is simply stopped in the middle over the driver angle to be screwed to the camber later.
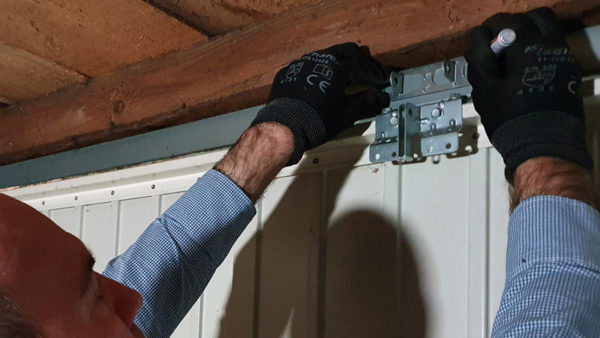
The guide rail will then be hooked in and locked there later.
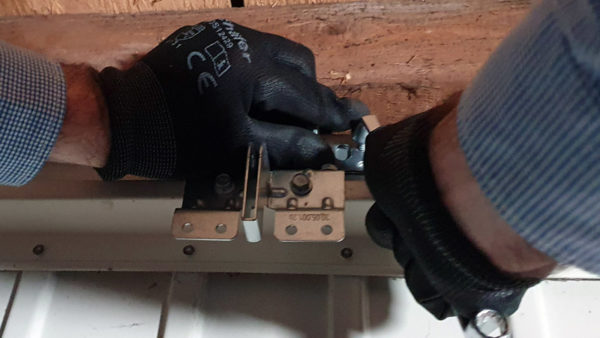
This is how the whole thing looks when finished. At the top you can see the camber joint and below you will find the driver angle.
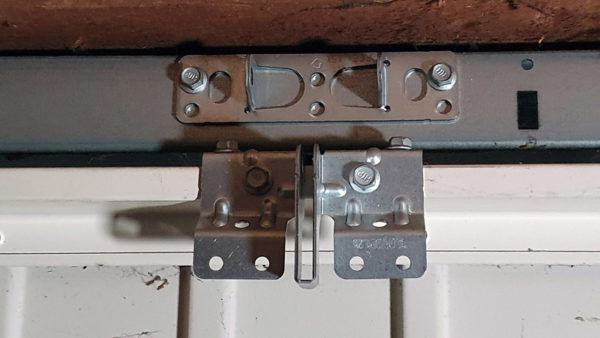
Tip: Which holes must be used on the lintel joint depends on the gate. For example, in the case of an N80 gate with wooden infill, the lower holes of the lintel joint are to be used for mounting. In our case, the upper holes are to be used, and in others again, or in the case of ceiling mounting, the two longitudinal cuts next to them are to be used.
Continue with the guide rail.
Garage door drive assemble guide rail …
