- Berner GA101 Accumulator Garage Door Drive Installation Guide
- Step by step installation guide
- Door lock disassembly instruction
- Driving angle assembly instruction
- Guide rail construction manual
- Guide rail assembly instruction
- Emergency release assembly instructions
- Door end positions assembly instructions
- Engine assembly instructions
- Initial startup instructions
Assemble guide rail …
Then we already come to one of the most important parts and that is the guide rail with the internal toothed belt.
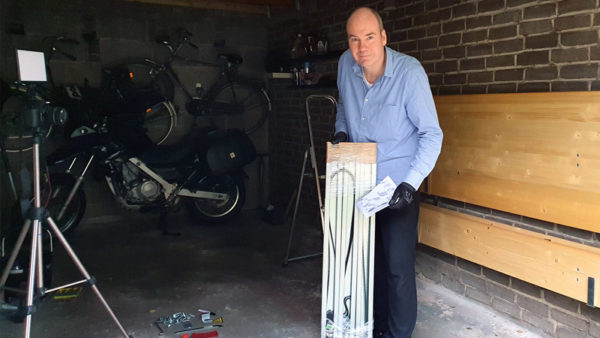
Or actually not quite inside, because the timing belt was put out for transport and that is not so easy to put it back in.
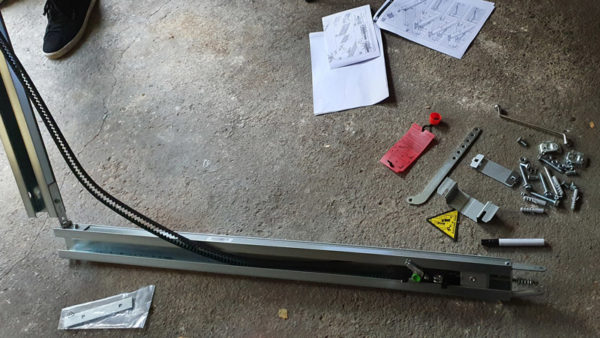
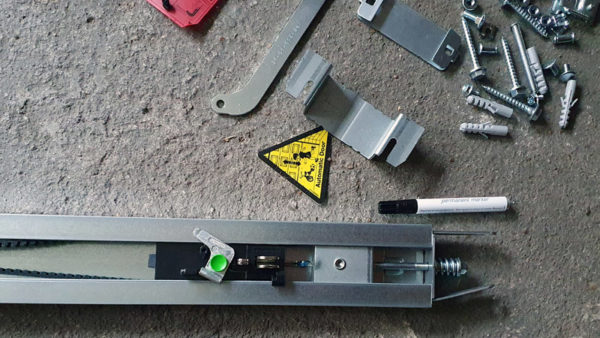
As you can see here, the toothed belt is under considerable tension as soon as the guide rail is folded straight.
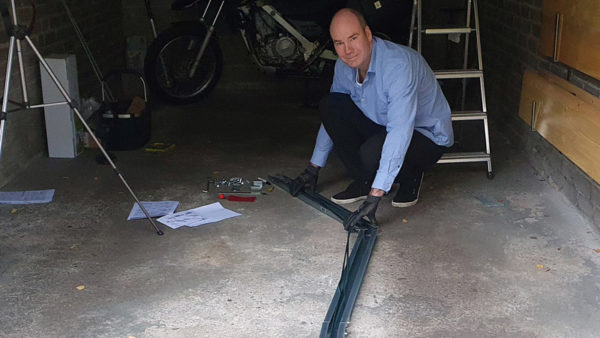
Here you can see the end of the guide rail which is inserted and locked into the lintel joint afterwards. In our case, it was a little bent, but it’s no problem to straighten it out again.
Toothed belt tension …
The toothed belt must of course be kept under tension. The timing belt is tensioned by this pulley, which is held under tension by a spring. However, the threaded rod is so short due to the design that you can no longer unscrew the screws with the spring mounted.
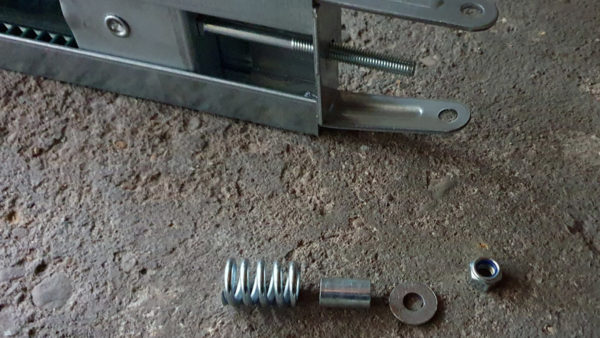
For this reason, we decided to simply unscrew the other side, where the motor will be unplugged later.
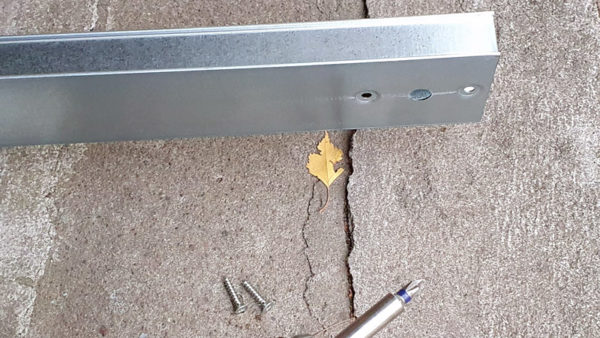
Then insert the toothed belt, bring it to tension and then tighten it again so that the guide rail is held straight.
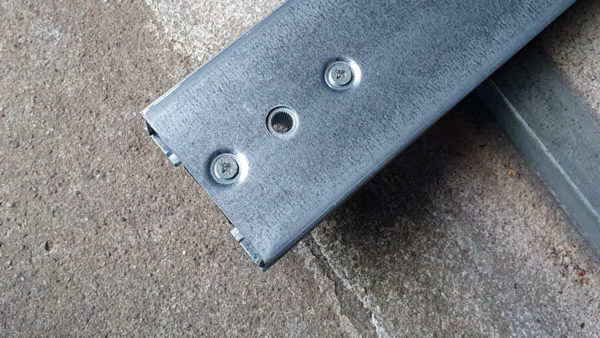
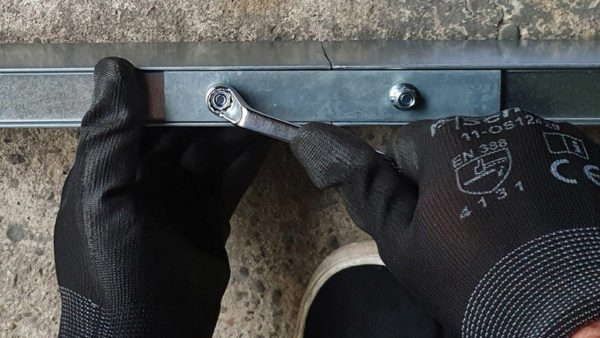
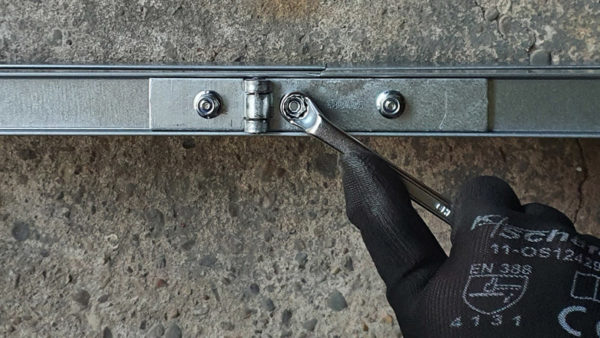
Now add metal plates on both sides.
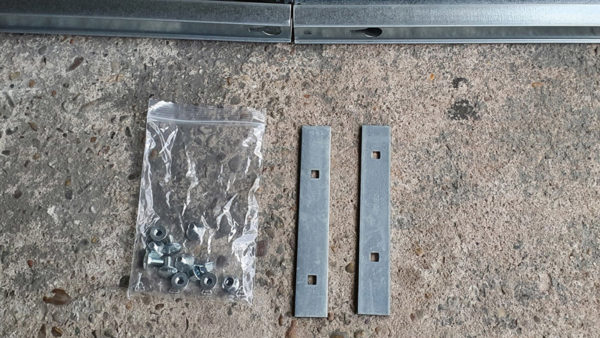
It is best to fix the screws a little with the nuts in advance.
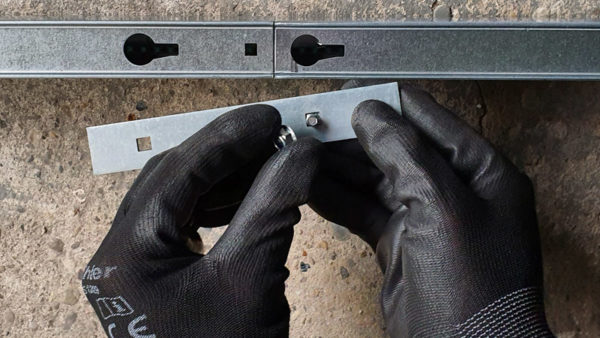
Then stop at the guide rail, …
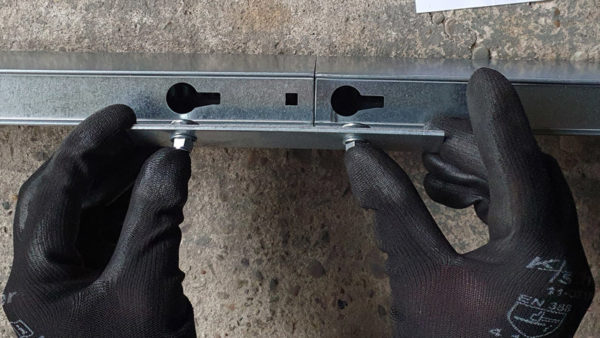
… place on the guide rail, move sideways …
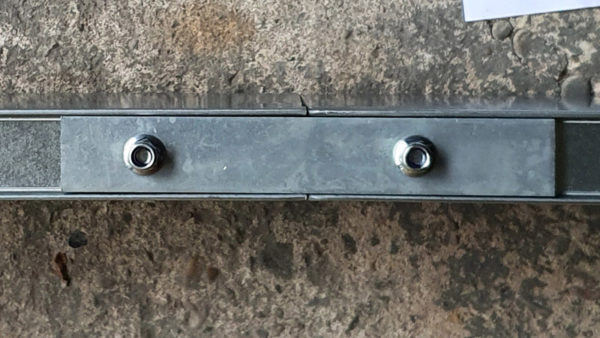
The joints on the other side are also provided with screws once again after the guide rail has been aligned.
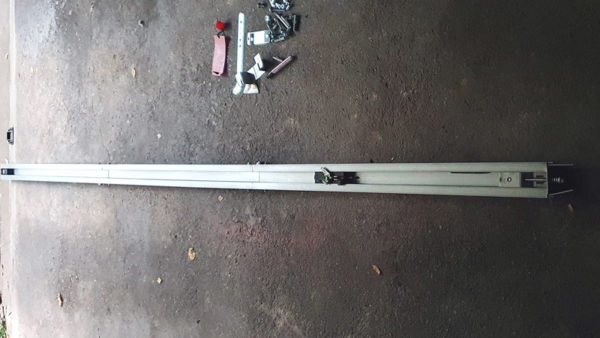
So the finished guide rail looks and in the middle is as said the toothed belt, which is guided between two rollers and with the toothed belt is then the guide carriage pushed back and forth. Now simply bend the metal plate at the end of the guide rail and then check the guide carriage for free running, because it may be that you still have to rework a little and bend the guide rail still a little right. Only when the guide carriage can really be moved back and forth perfectly in the guide rail can the whole thing be mounted.
Continue with the assembly of this guide rail.
Garage door drive guide rail mount …

