
Completing the setup …
After the automatic reset of the ESP32, the following should now appear on the display.
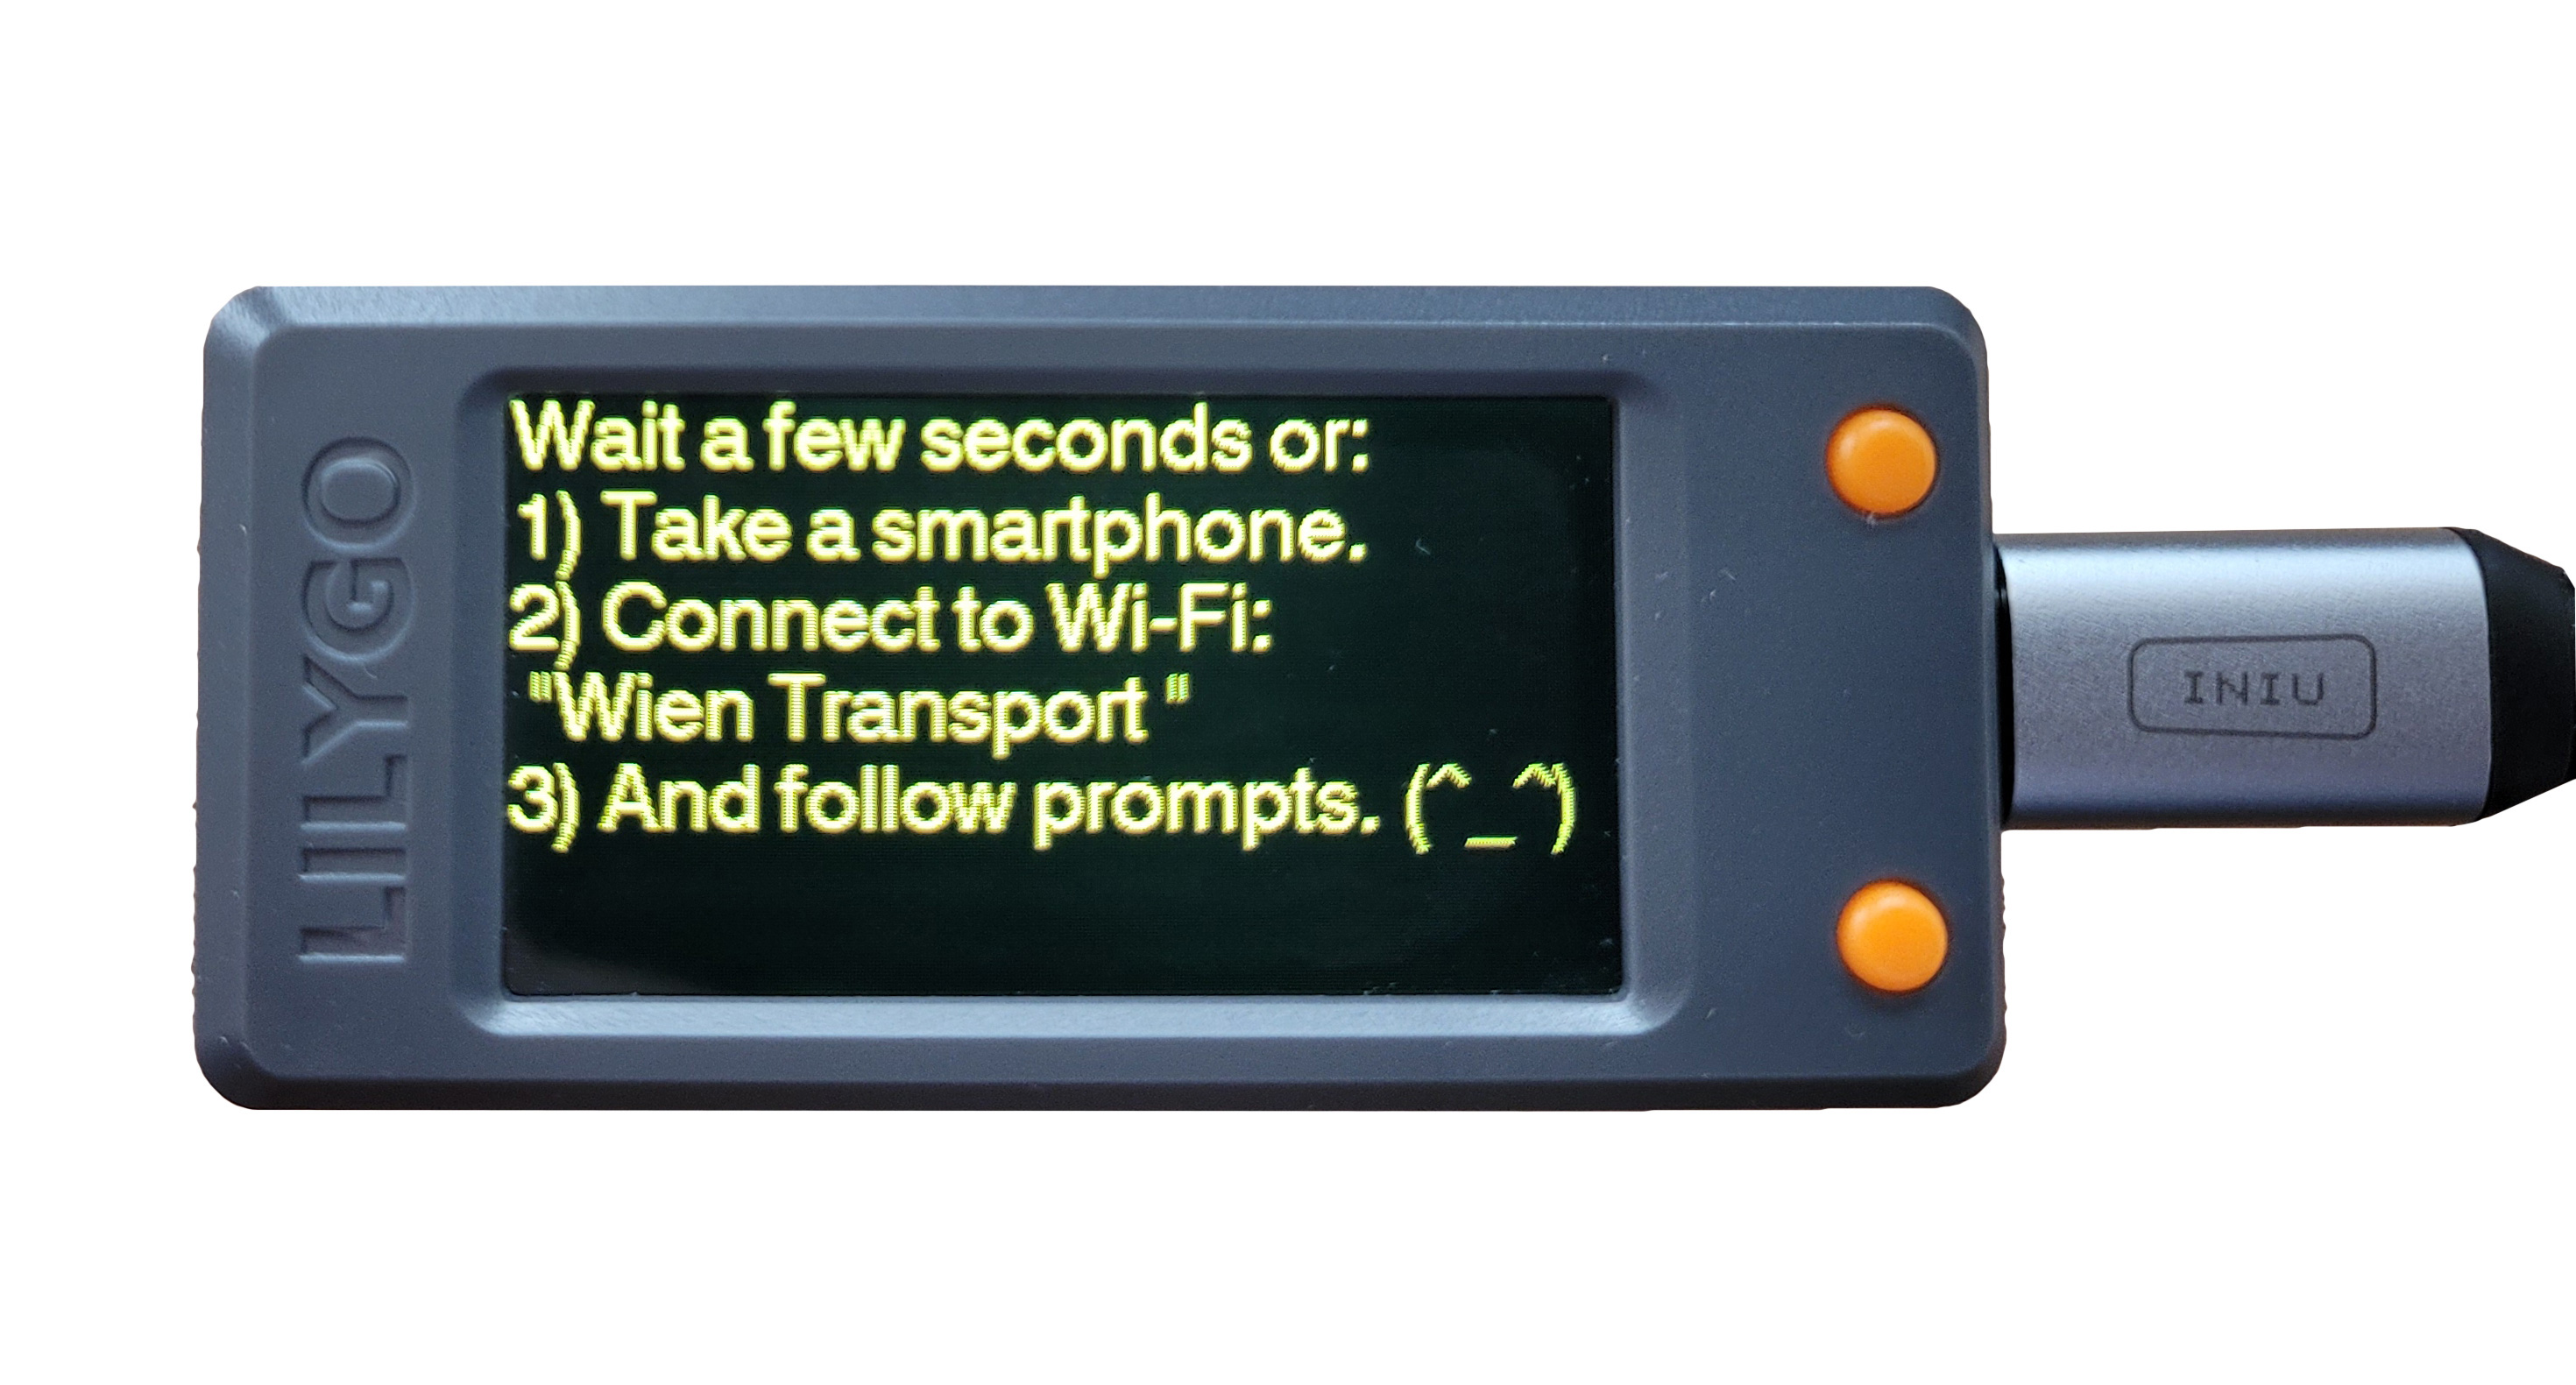
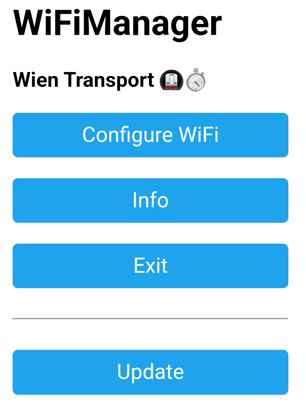
This is the sign that the ESP is ready for the final configuration, which is conveniently carried out via the browser on the cell phone or tablet. First you need to connect the device with which you want to configure the ESP to the Wi-Fi access that the EPS32 now provides. The SSID is “Wien Transport” and does not require a password, which is not a problem because this access is only available for a short time for the one-off setup.
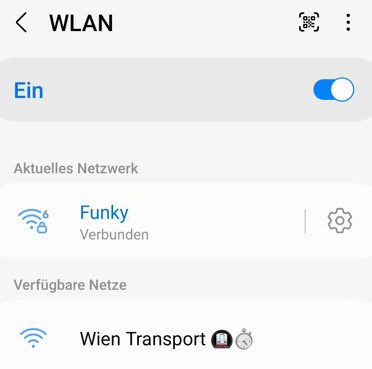
Select the access and click on the cogwheel symbol.
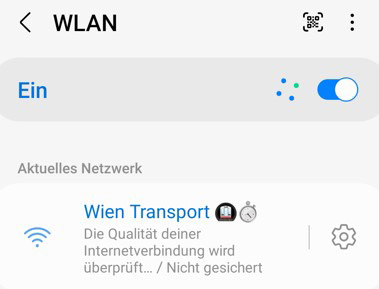
Then click on “Manage the router”.

If you click on Configure WiFi, you will finally get to the settings…
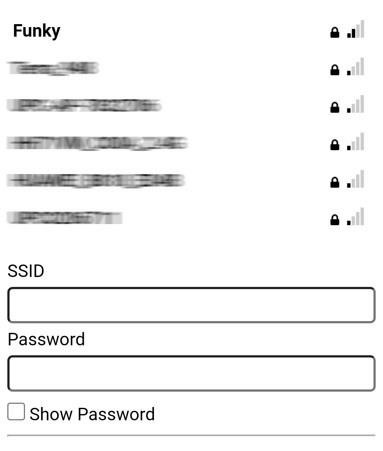
On the following screen, select the W-LAN access point to which the ESP32 is to connect later in order to establish an Internet connection. This is necessary in order to be able to show the display data in real time on the display.
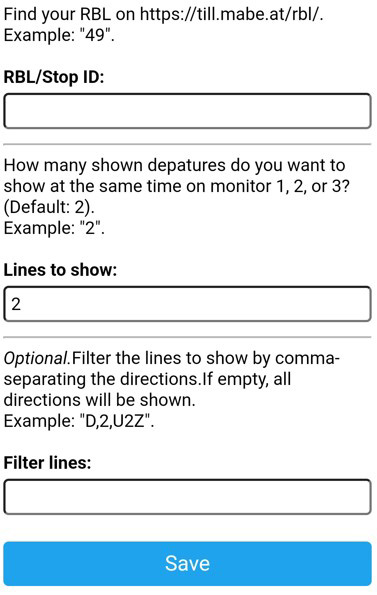
Further down, enter the ID of the stop from which the departure times of the public transport lines are to be displayed. The required ID is obtained from the address displayed above. The remaining two input fields are optional. Finally, the settings are saved using the Save button and the ESP restarts.
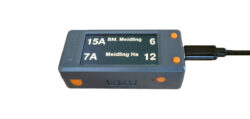
If everything went well, the next departure times of the public transport lines stopping at the selected stop will now be displayed.
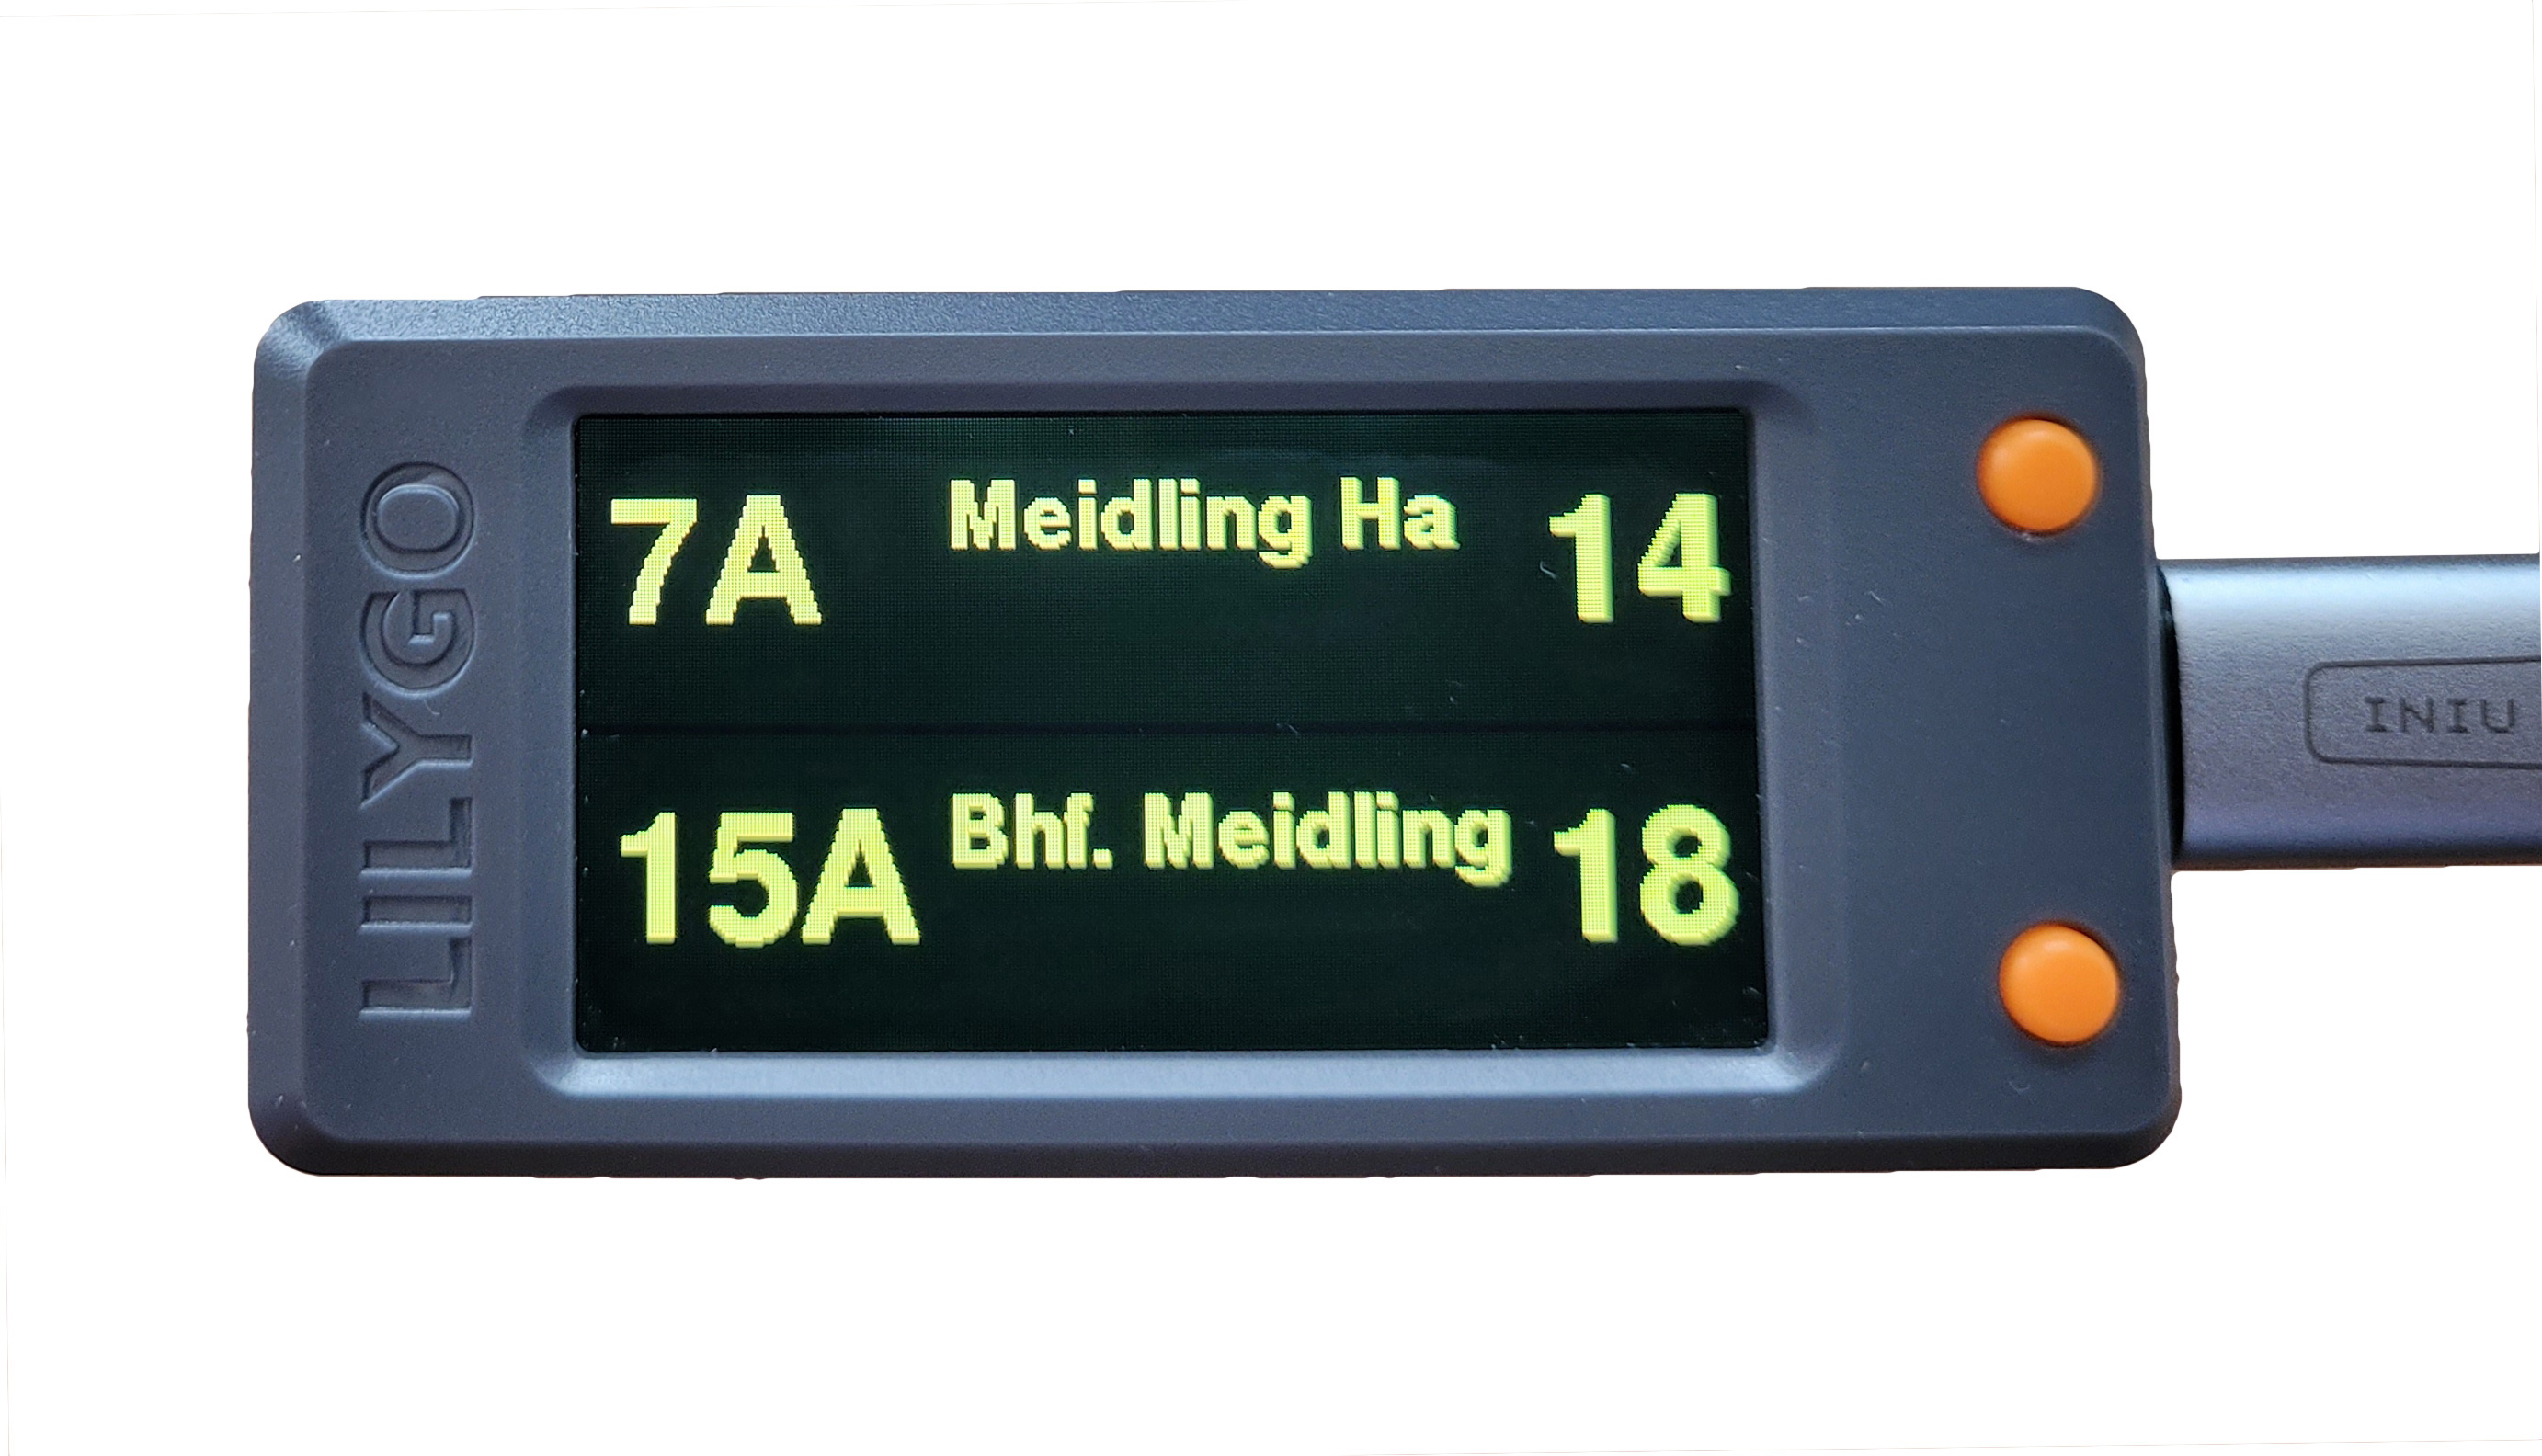
Congratulations!
Result and general impression about the ESP32 project …