Configuration …
Once assembly is complete, the display can be configured. The ESP controller provides a WIFI access point. If you connect to it via your smartphone or tablet, for example, you can enter and save your WIFI access data.
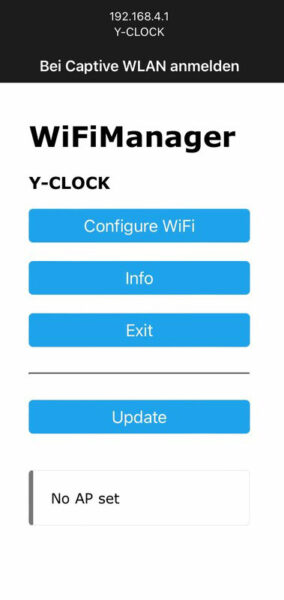
The ESP then restarts and connects to the existing network using the WIFI data. After a few seconds, the IP address of the ESP appears on the display. In the browser, which must be in the same network, simply connect to the IP address to adjust the clock. Here you have the option of making various settings. We recommend that you first carry out a software update under Web Update. After a restart, you can call up the current time under Network by clicking on Get Net time.
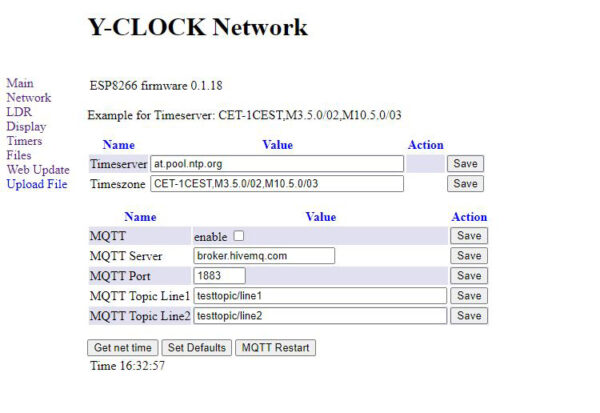
The Display item is now important.
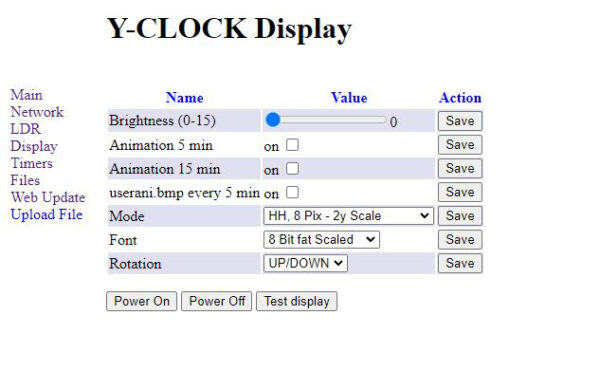
Here you can set the brightness, whereby we use level 0. If you want, you can activate various animations and of course you can set what the display should show. HH:MM is probably the most important setting if you only use one device. If you have several devices, you can combine them and adjust the display accordingly.
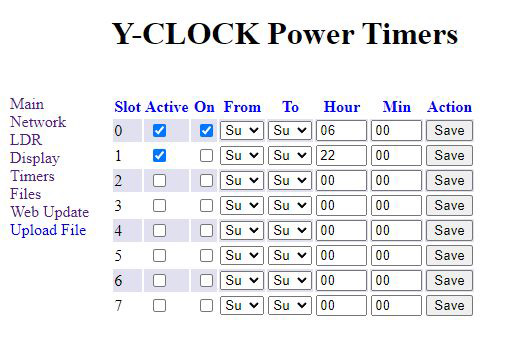
Under Timers, you can program timers so that the display switches off at night, for example.
If you have done everything correctly and configured the display as HH:MM, you should now be able to read the time.
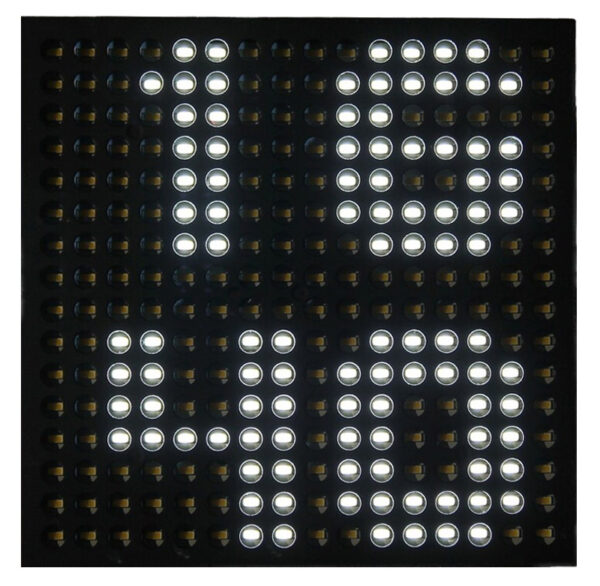
Combine several modified IKEA Frekvens …
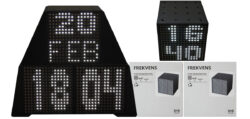
As already mentioned, you can combine several of these displays. For example, 2 devices show the time and date.
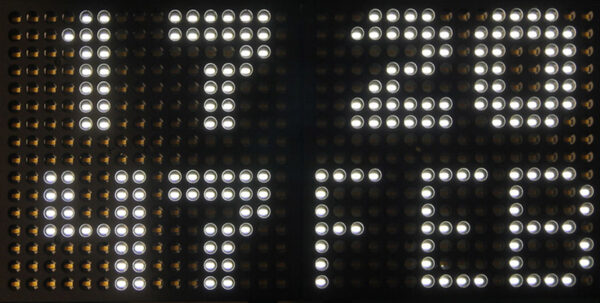
Or just the time, but in large letters.
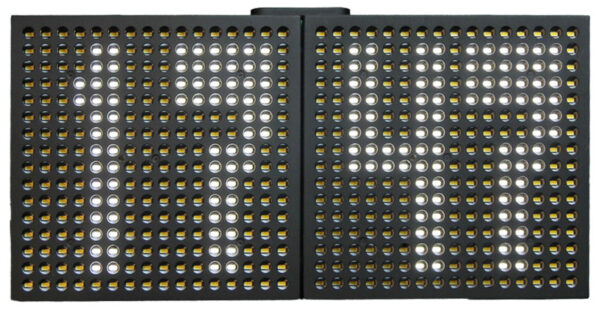
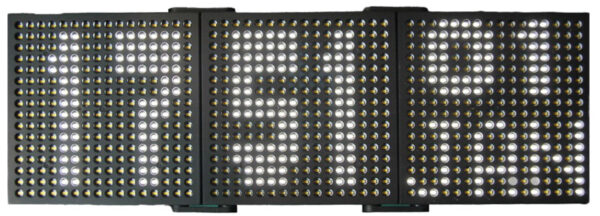
Or even better, use 3 of them. Time as HH:MM:ss
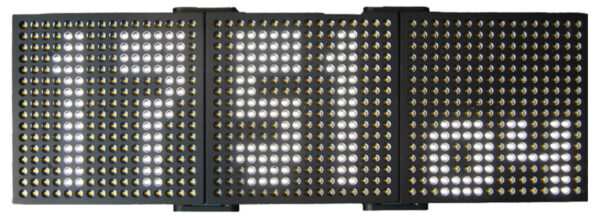
And if you print a few brackets with the 3D printer, other designs are also possible.
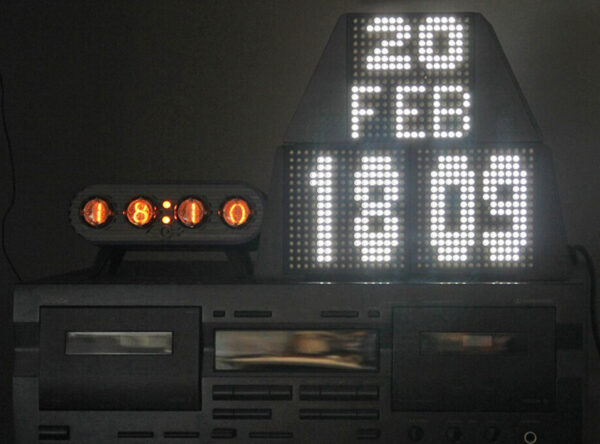
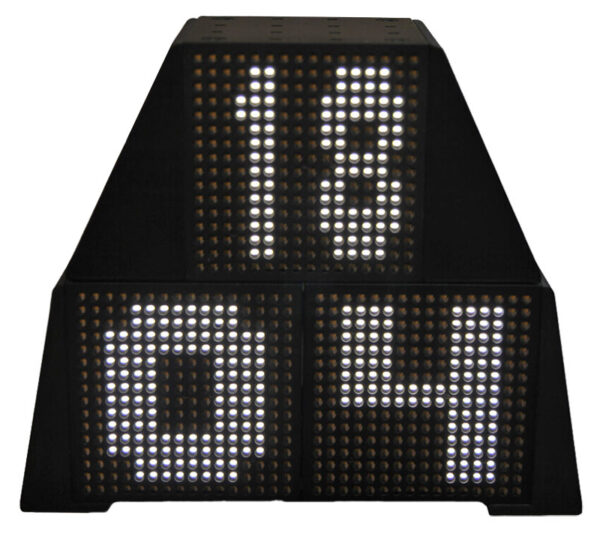
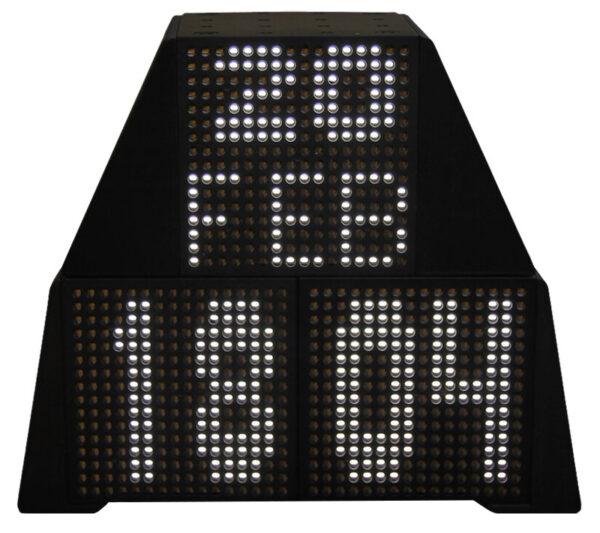
Here you can see a combination of 3 IKEA Frekvens LED matrix cubes, with the top one programmed to display the date and the bottom two as the time.
This is what it looks like next to the Nixie clock. The brightness is set to level 0 and therefore also runs at night. A brighter setting would possibly be disturbing here, although this certainly depends on the surroundings and the distance.
IKEA Frekvens Hack Result and general impression …

